


Edit an avatar style with Figma
Our DiceBear Studio plugin works in both directions. It turns a Figma frame into an avatar style, and it turns a style definition back into a Figma file. So you can open one of our styles in Figma, change it, and export your own version of it.
You need two things: the plugin, and the definition file of the style you want to change. Every style page has a Definition button above the preview. The screenshots below use Critters.
WARNING
Every style has its own license, and the definition names the artist. The import copies both into your Figma file, and the export writes them back. So read the license before you publish your version. The licenses page lists them.
Step 1
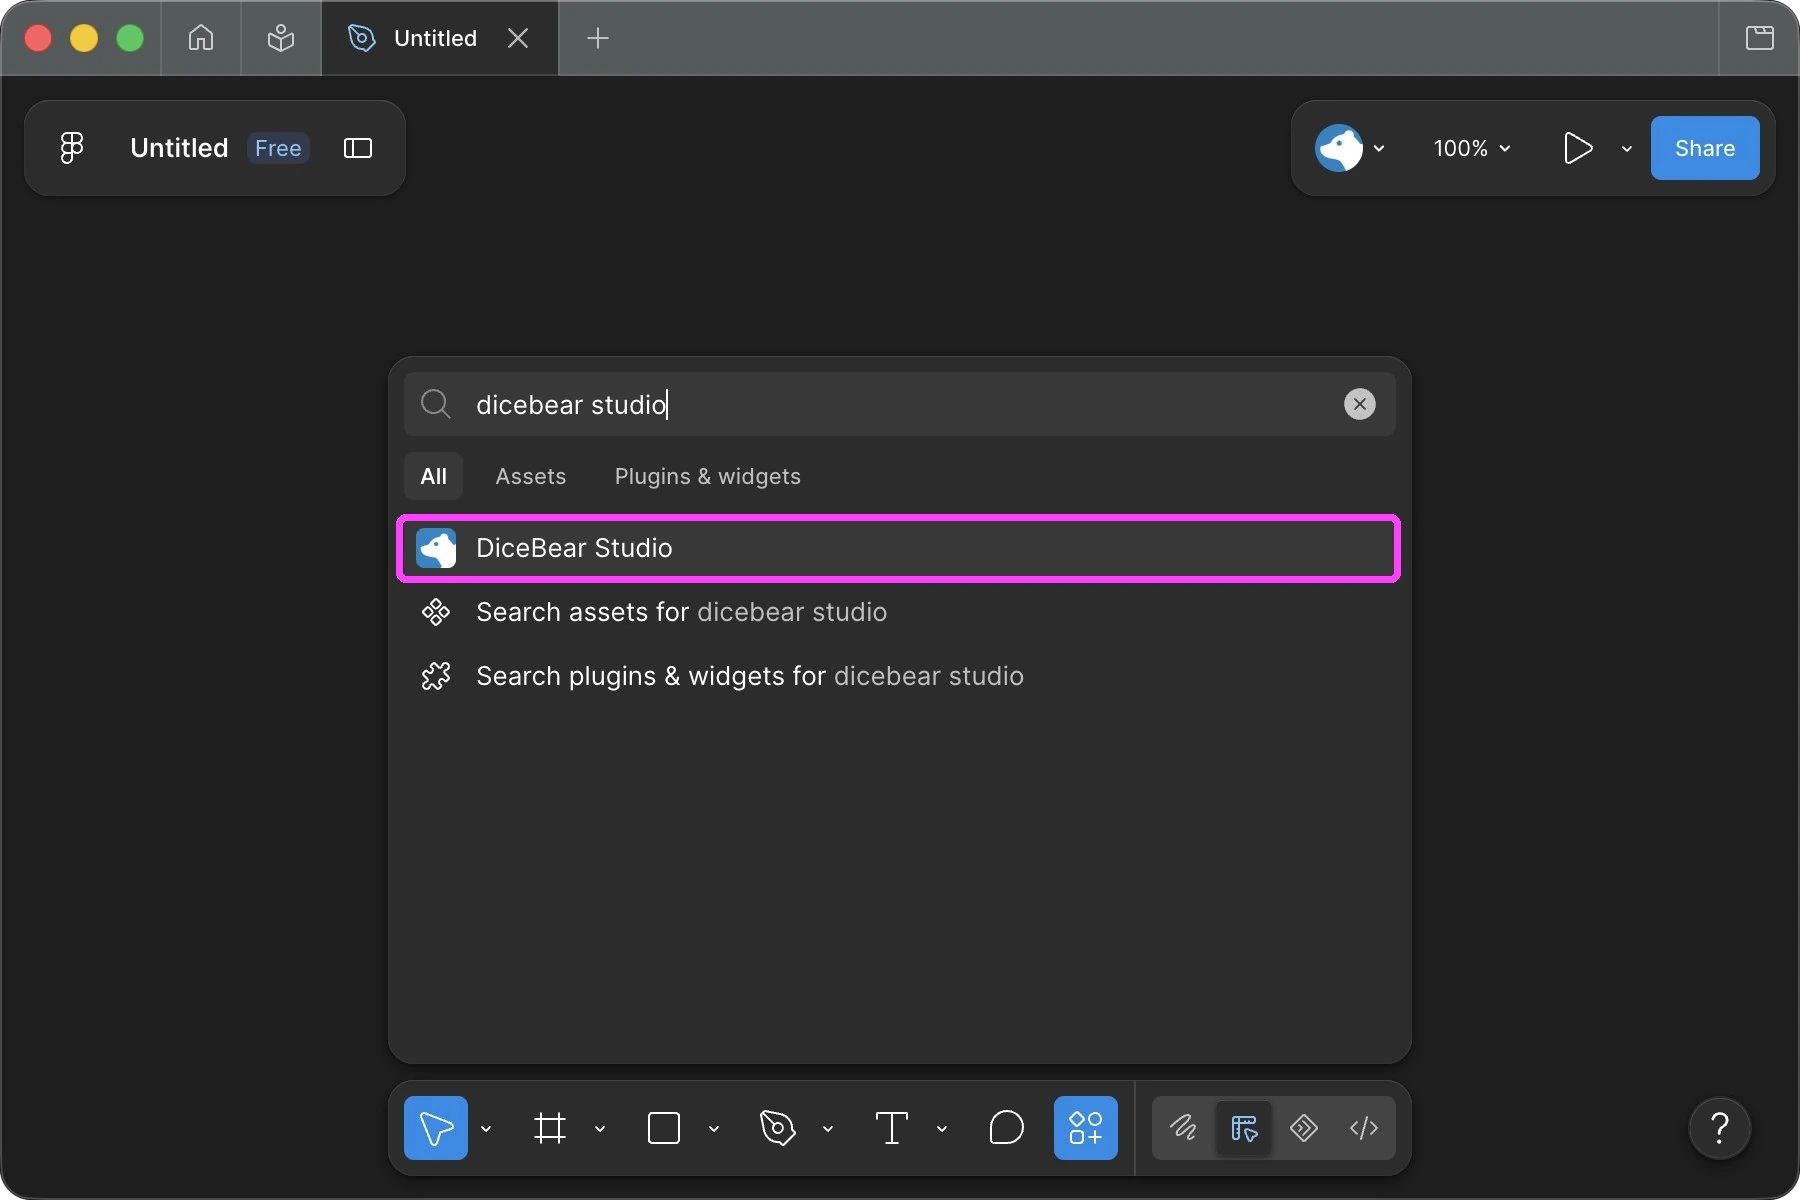
Create an empty Figma design file, then start the plugin.
The file has to be empty. If it already holds color styles or components with group names, the plugin refuses to import into it.
Step 2
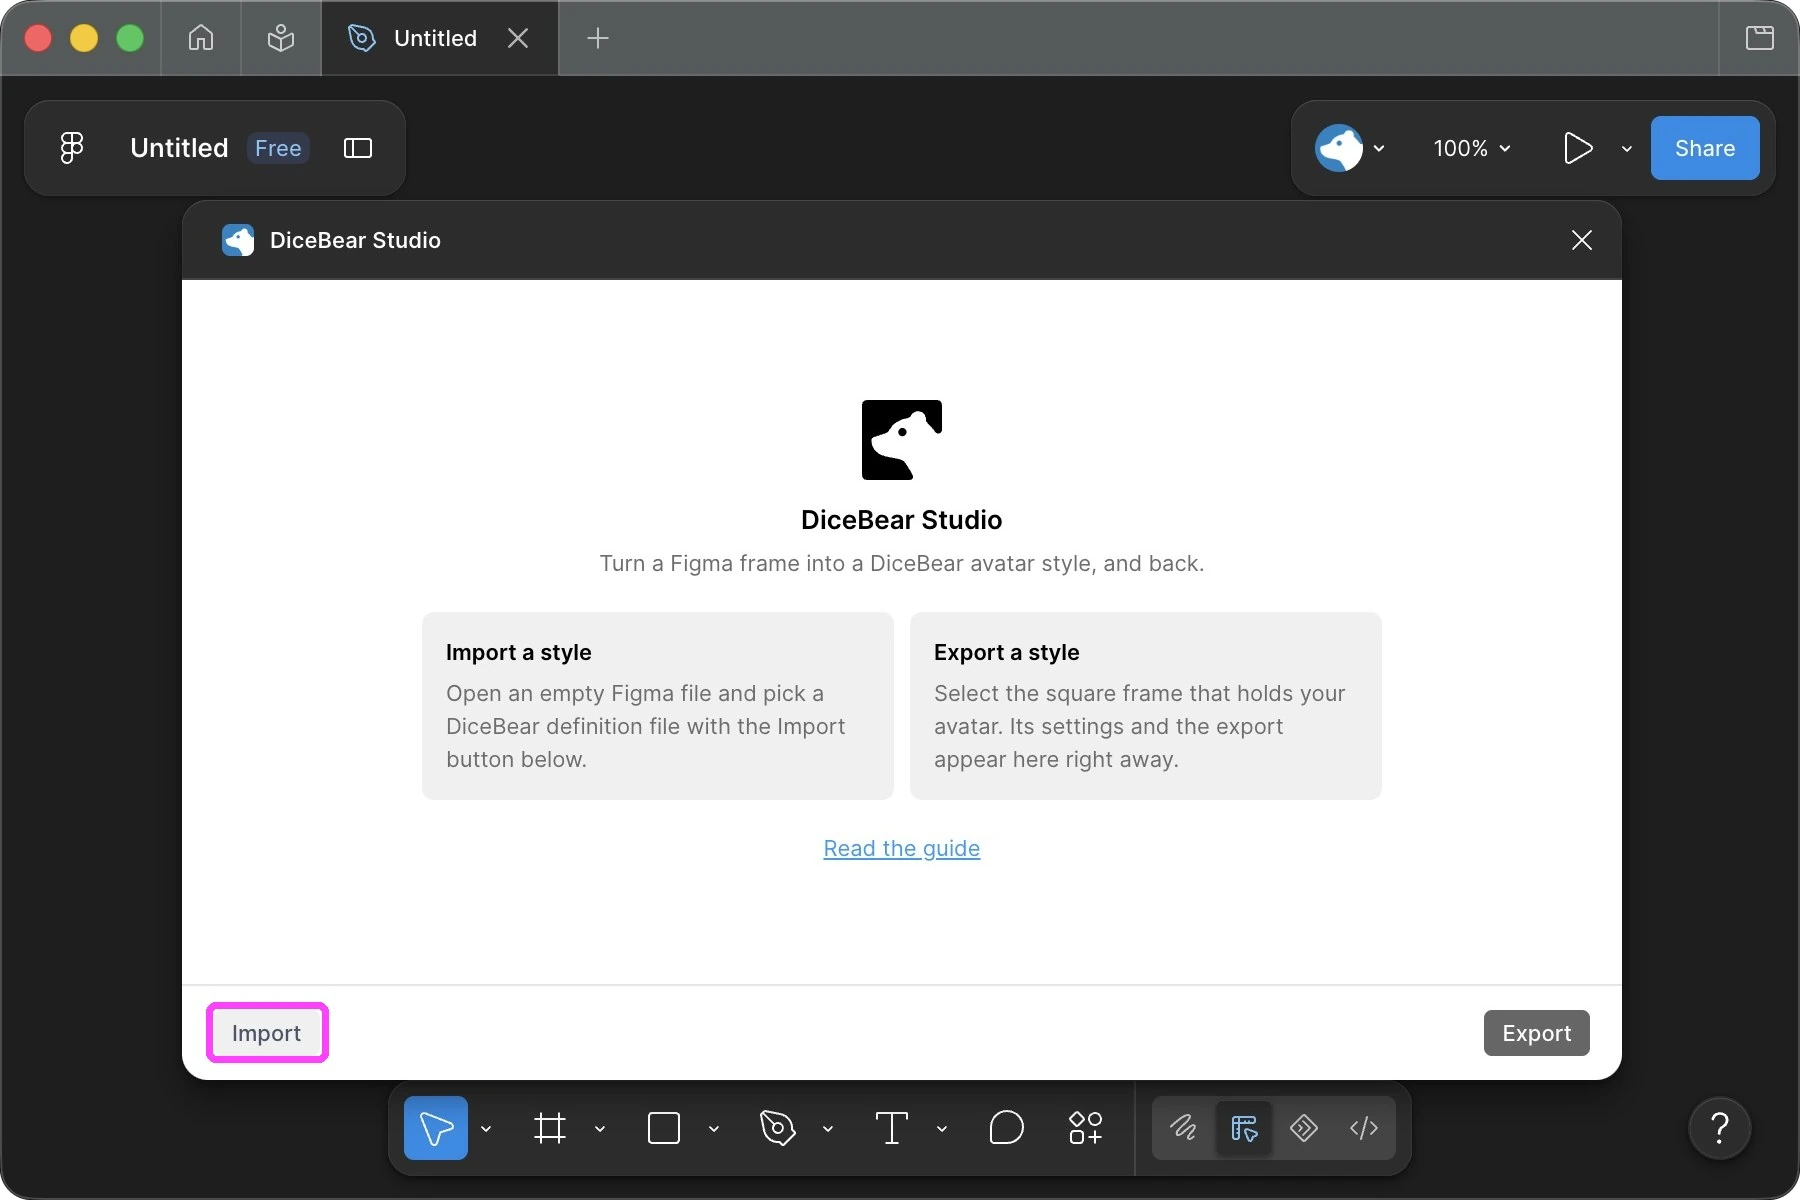
Click Import and pick your definition file.
The plugin reads the file before it touches your document. If the definition is broken, you get a list of the problems and nothing is imported.
Step 3
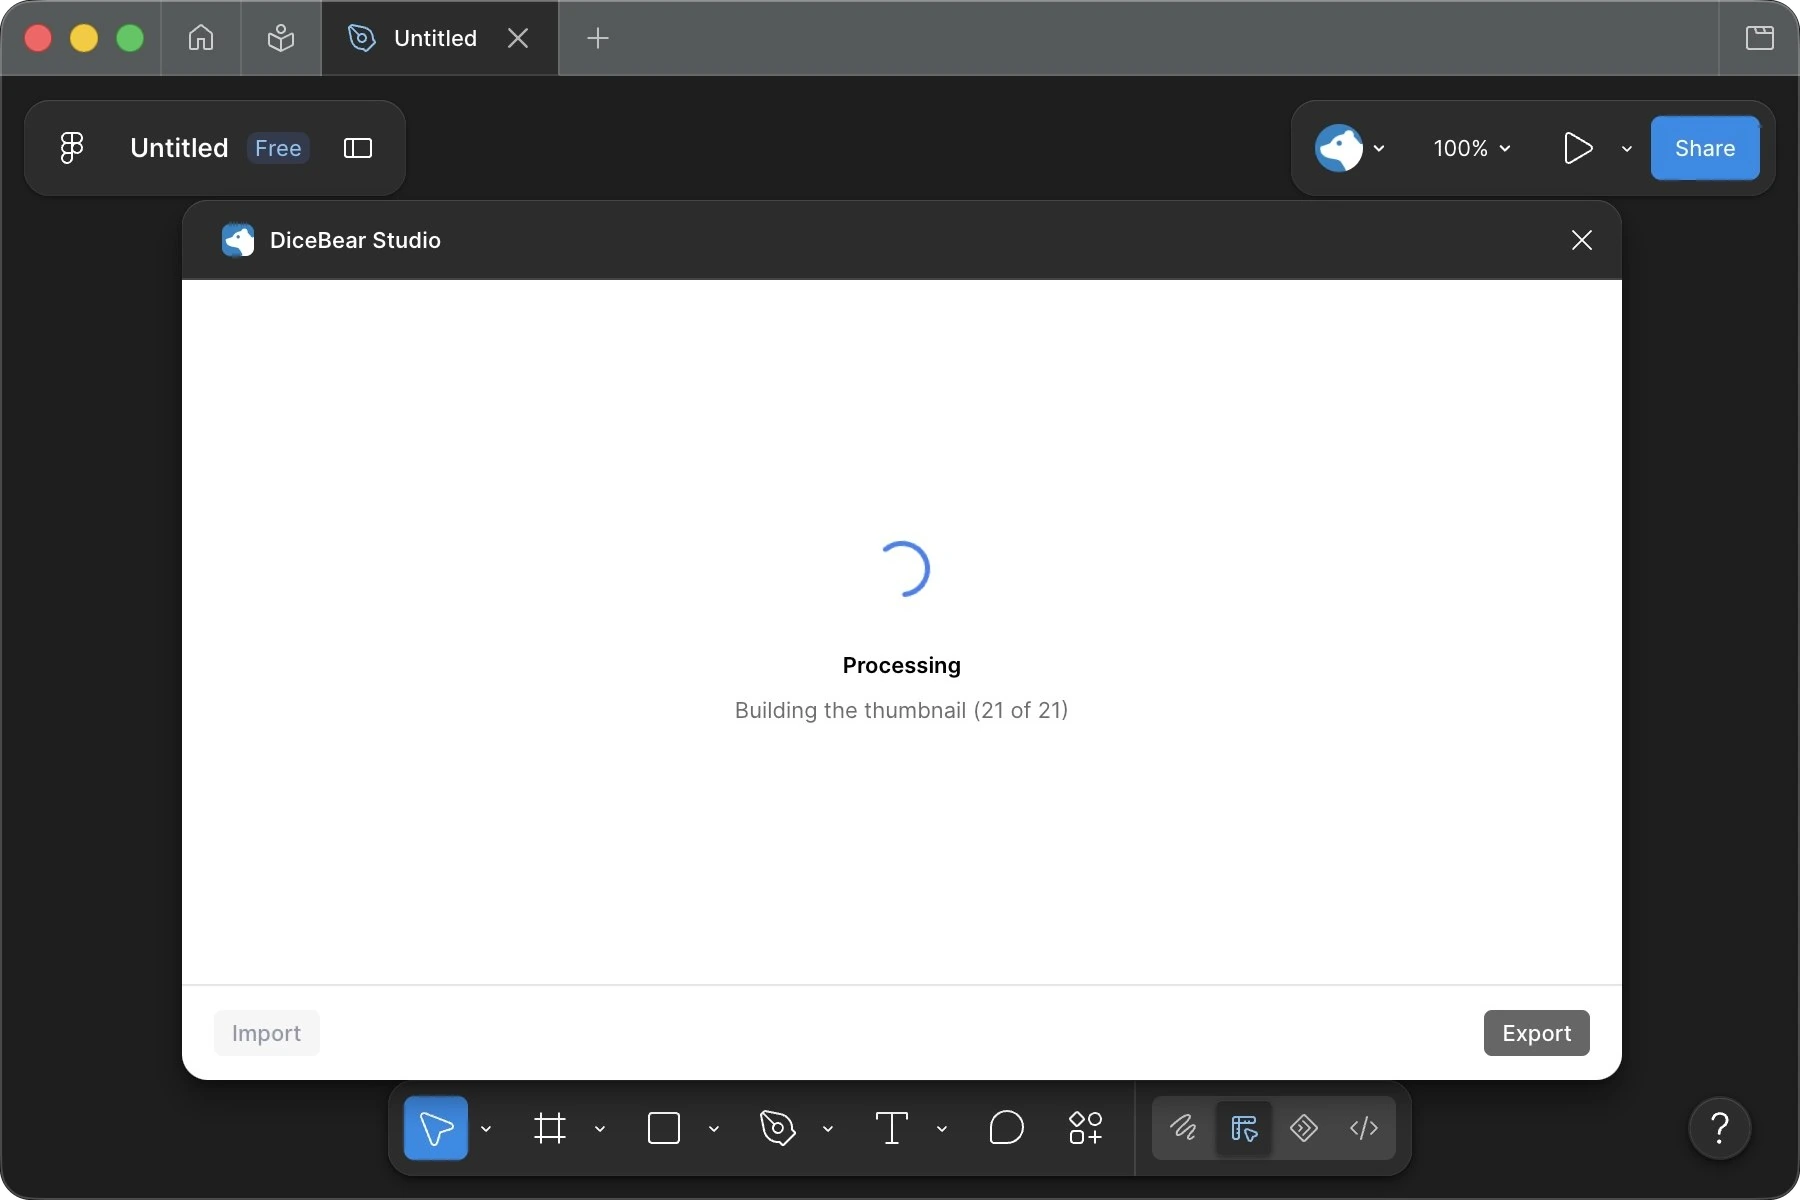
The import takes a moment. The plugin builds a Figma component for every variant of every component group, and a big style has a few hundred of them.
Step 4
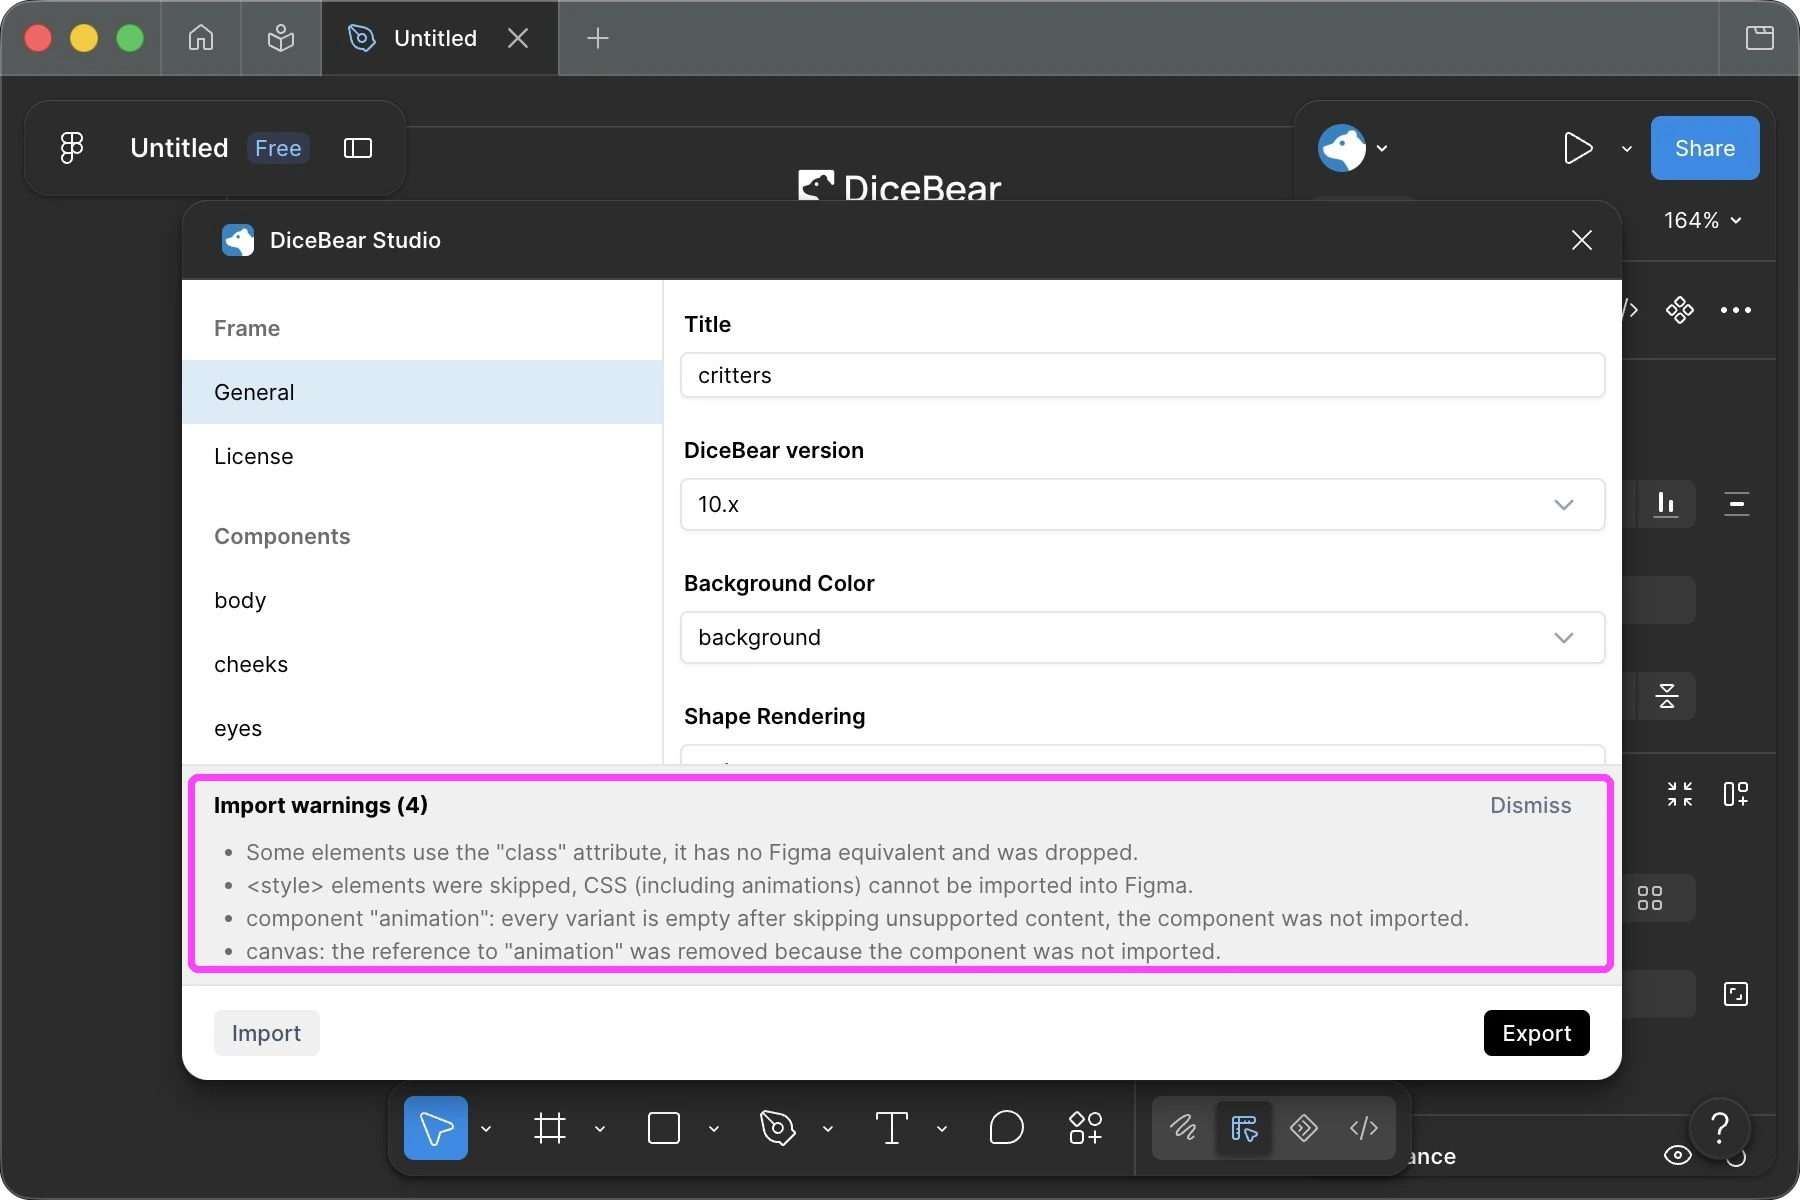
When it is done, the plugin shows the settings of your style: the title, the license, and the settings of every component group. Below that it lists what it could not import. Read that list. Whatever is on it is missing in Figma, and it will be missing in your export as well.
TIP
Animations live in a <style> element, and Figma has no place for CSS. An animated style therefore arrives as a still avatar and stays still after the export.
Step 5
The plugin leaves you on the Avatar page. The frame in the middle is your style. It holds one instance per component group and stores all the settings. Next to it is a short guide for whoever opens the file after you.
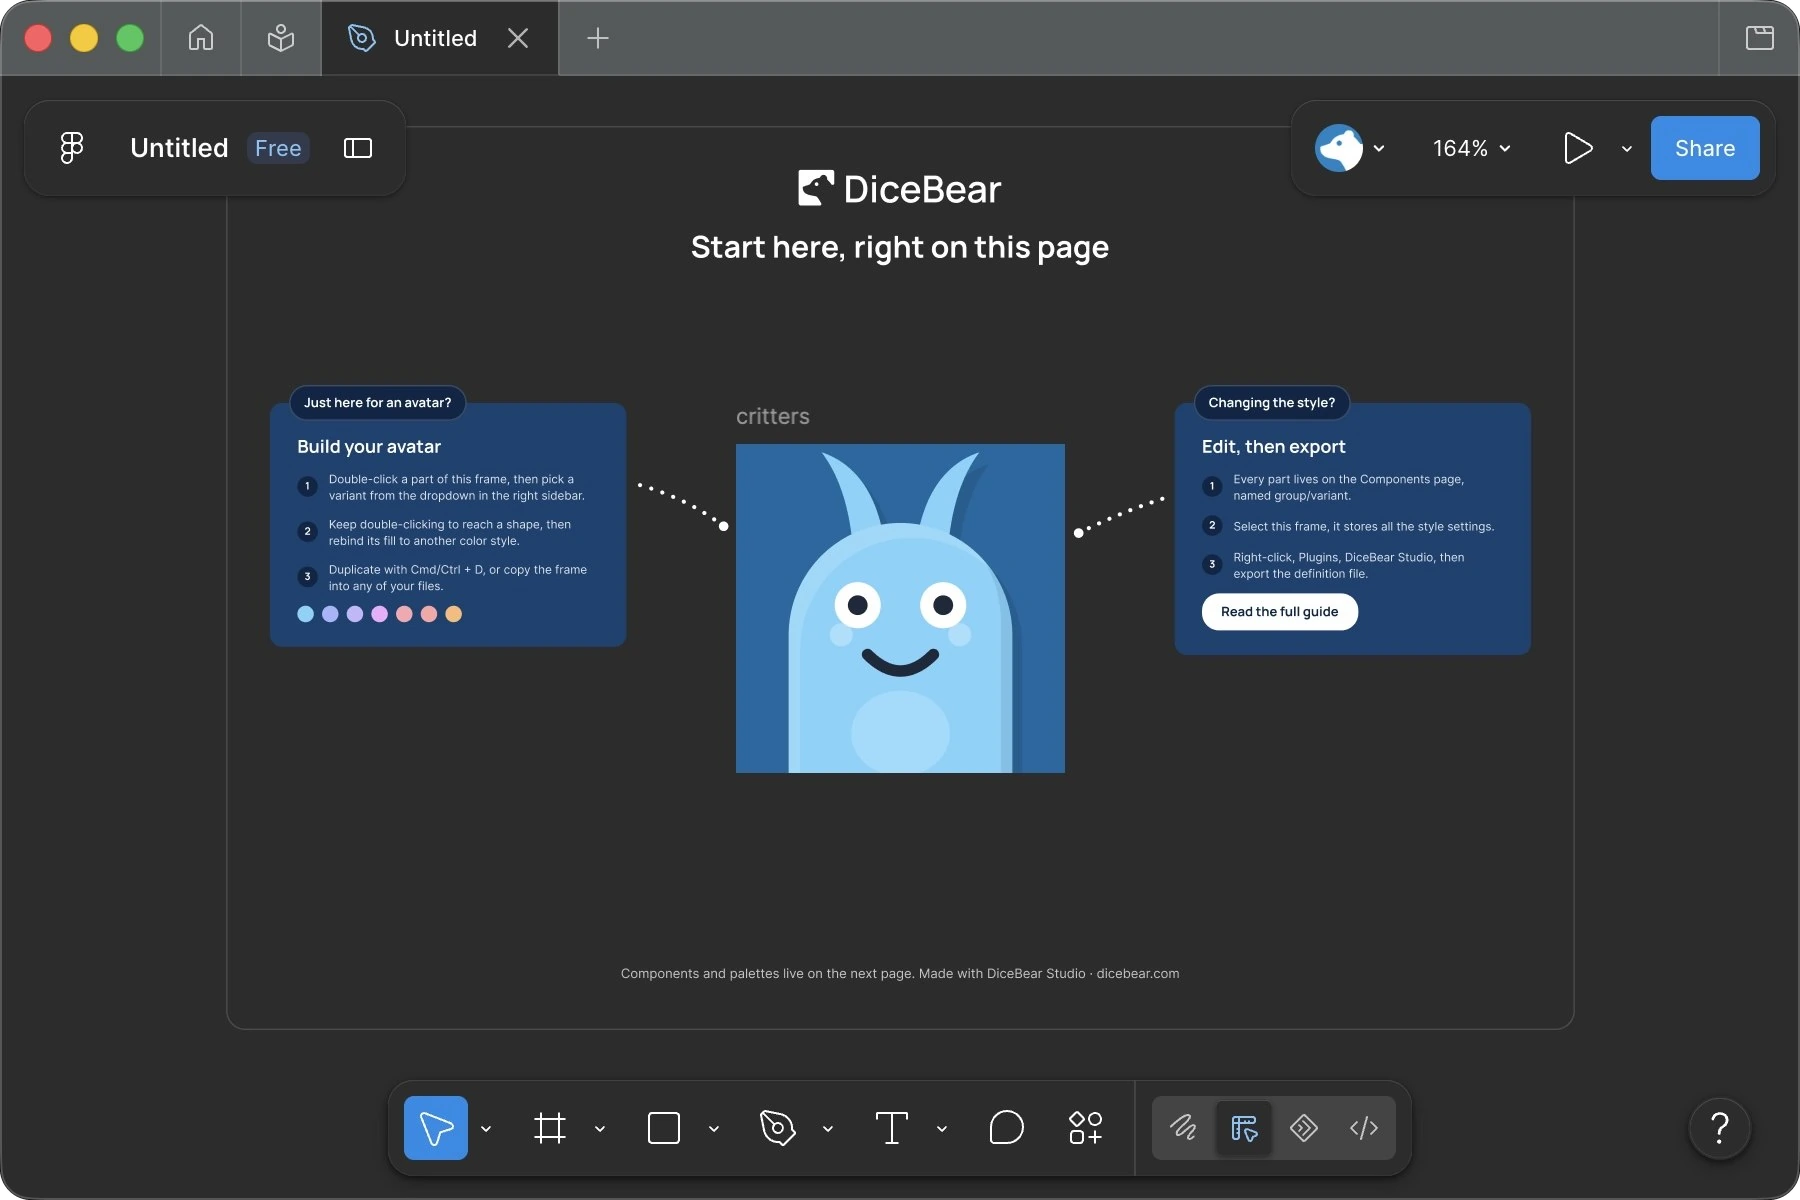
Step 6
The rest of the style sits on the other pages. Thumbnail holds the cover that Figma shows for the file, Components holds the parts of the avatar. The palettes came along as color styles.
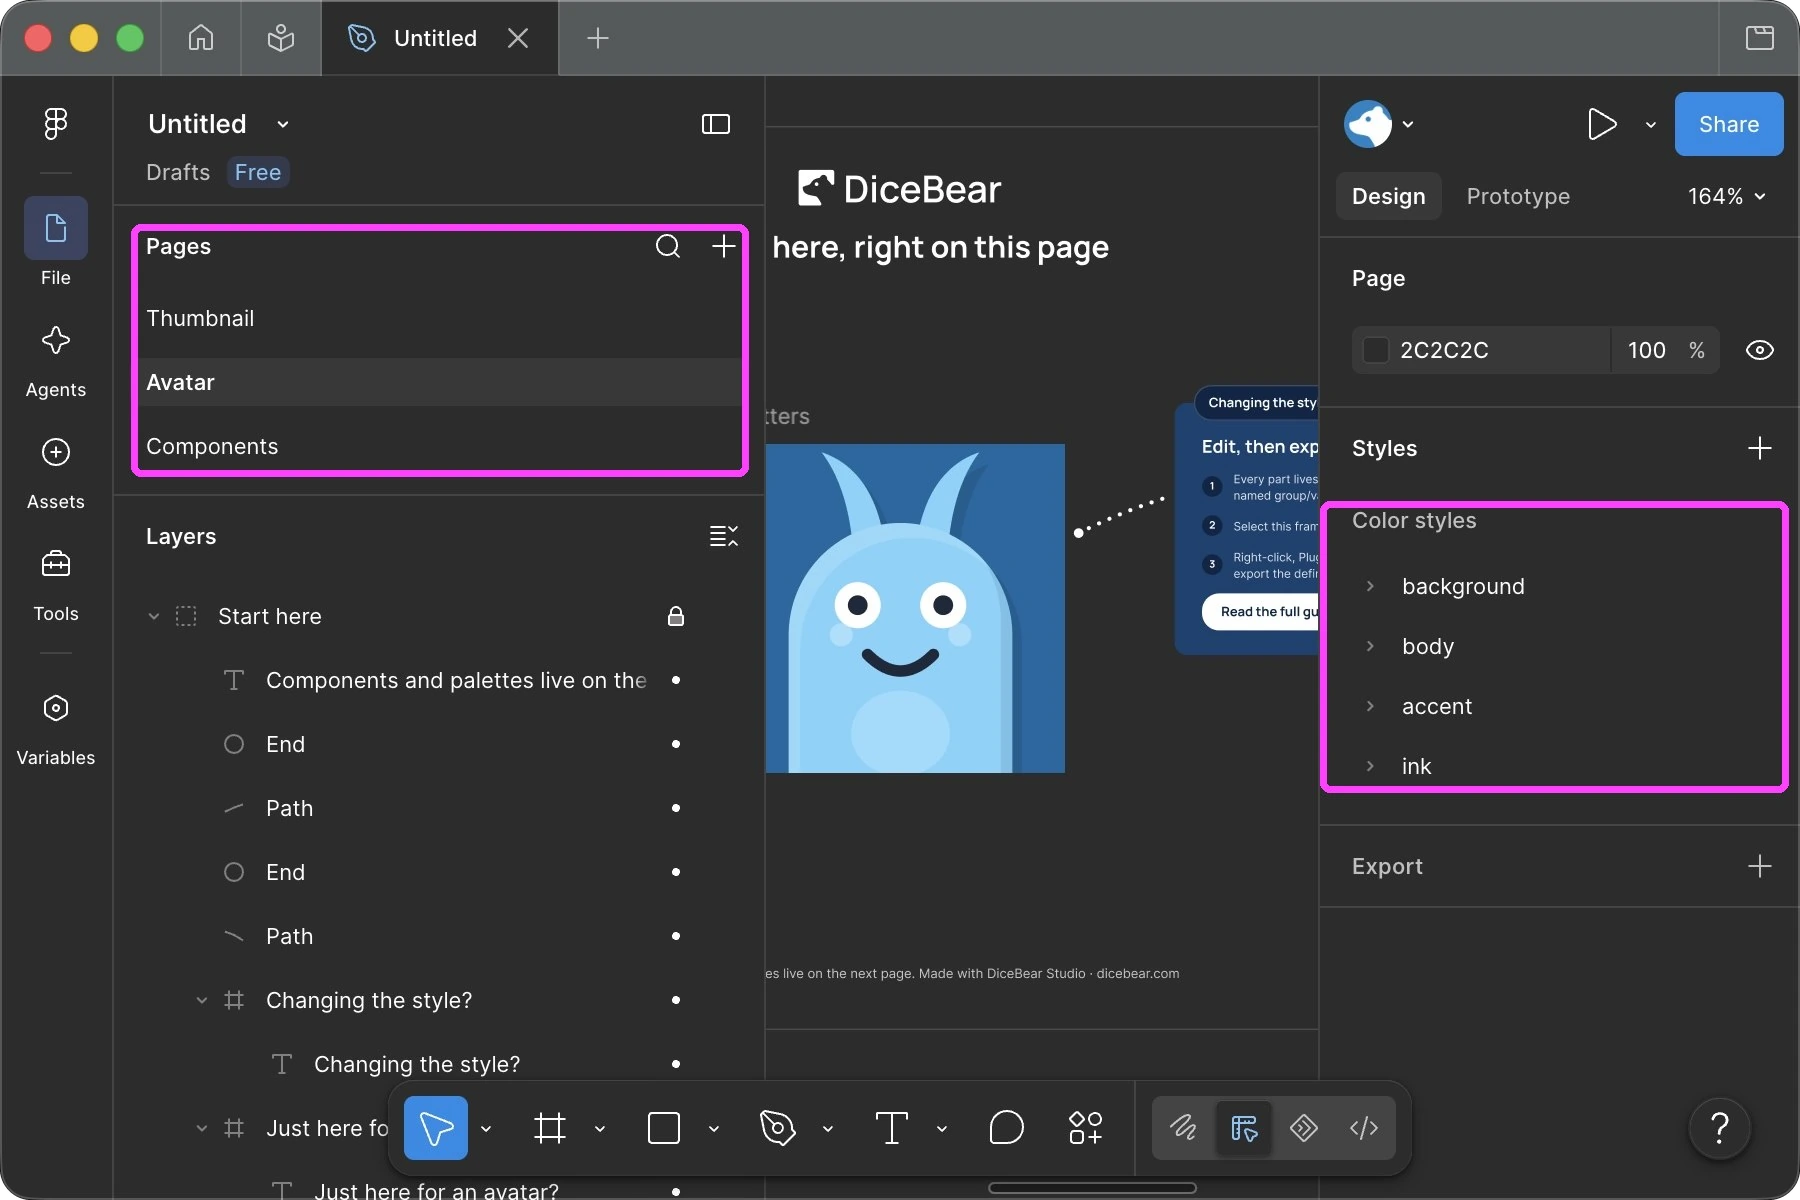
Step 7
On the Components page every group is a row, and every variant in it is a component named <group>/<variant>. When DiceBear draws an avatar, it picks one component per row.
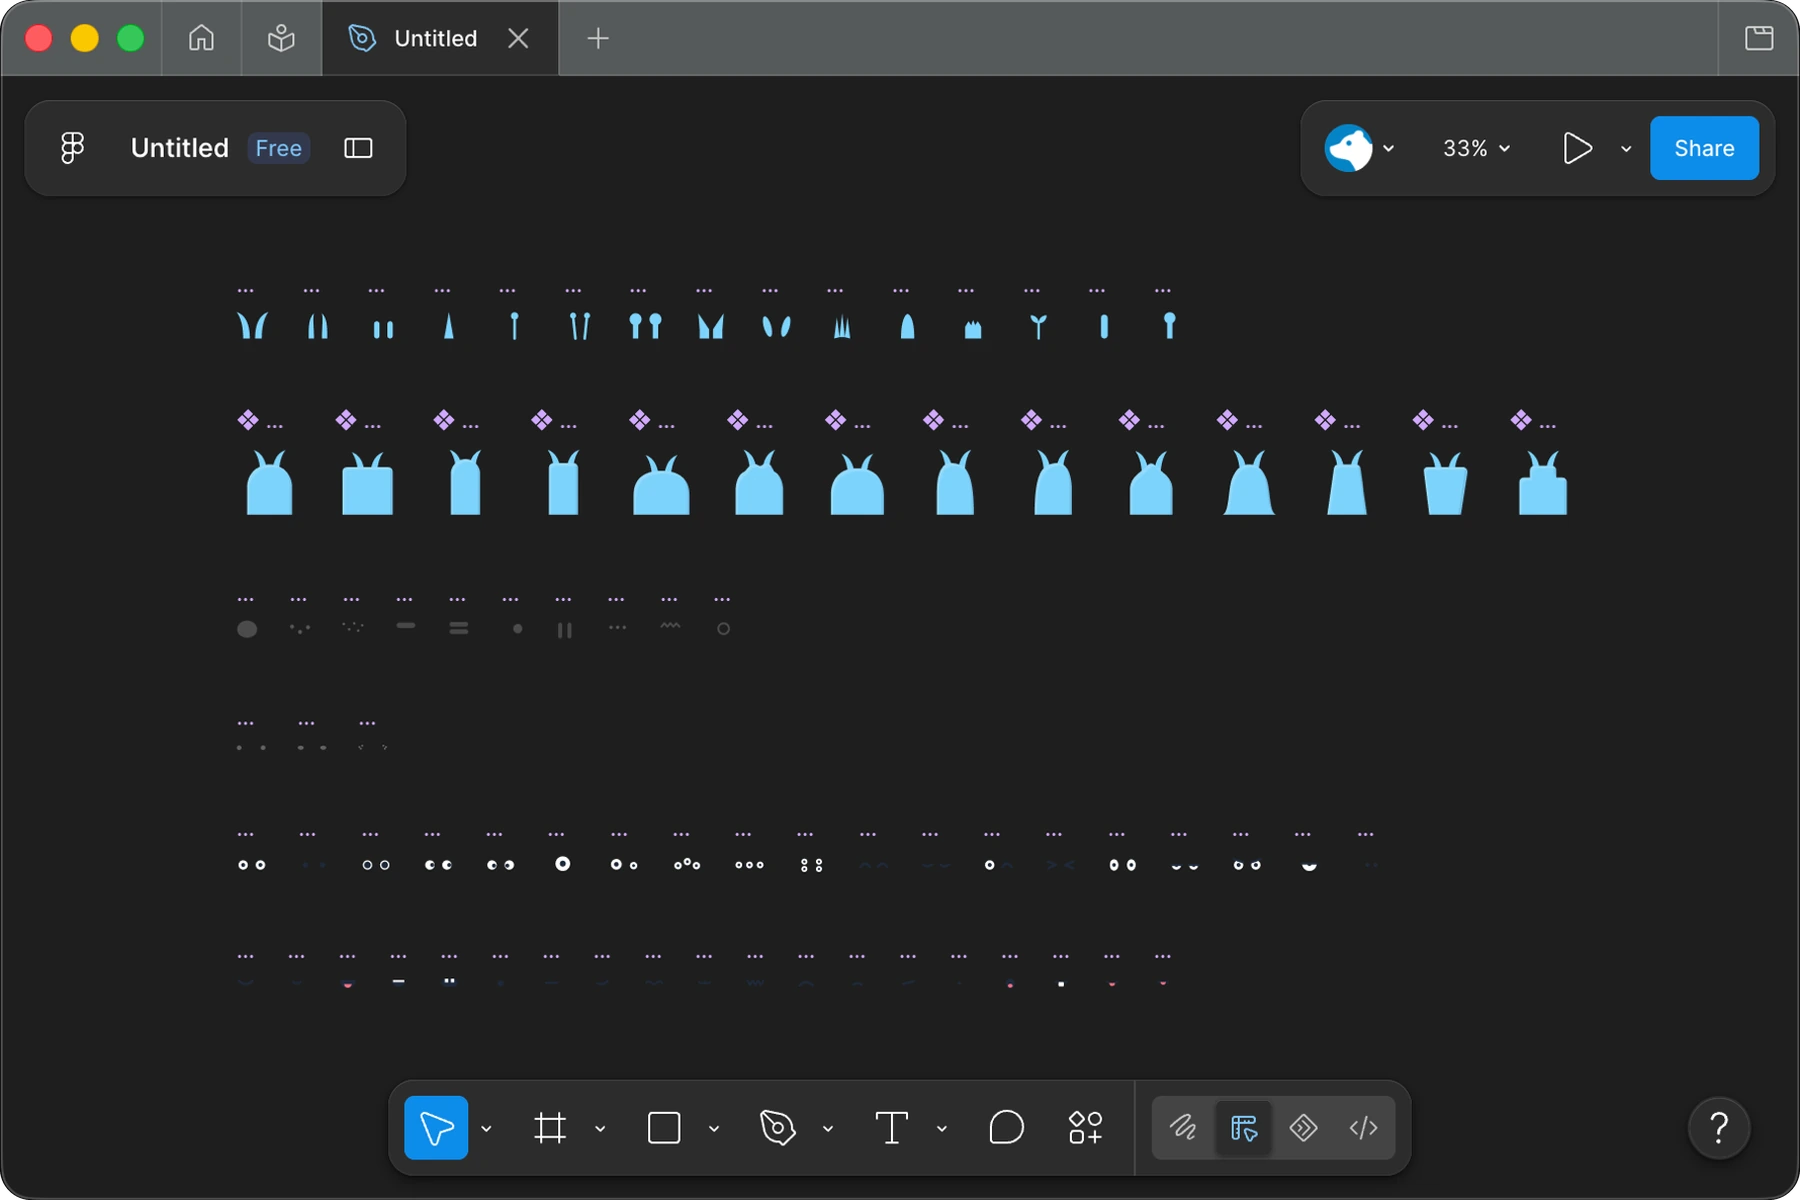
Step 8
Now change the style. Double-click a part of the frame to select it, then pick another variant from the dropdown in the sidebar, or bind a shape to a different color style. You can also redraw a component, or draw a new one and name it after the same pattern.
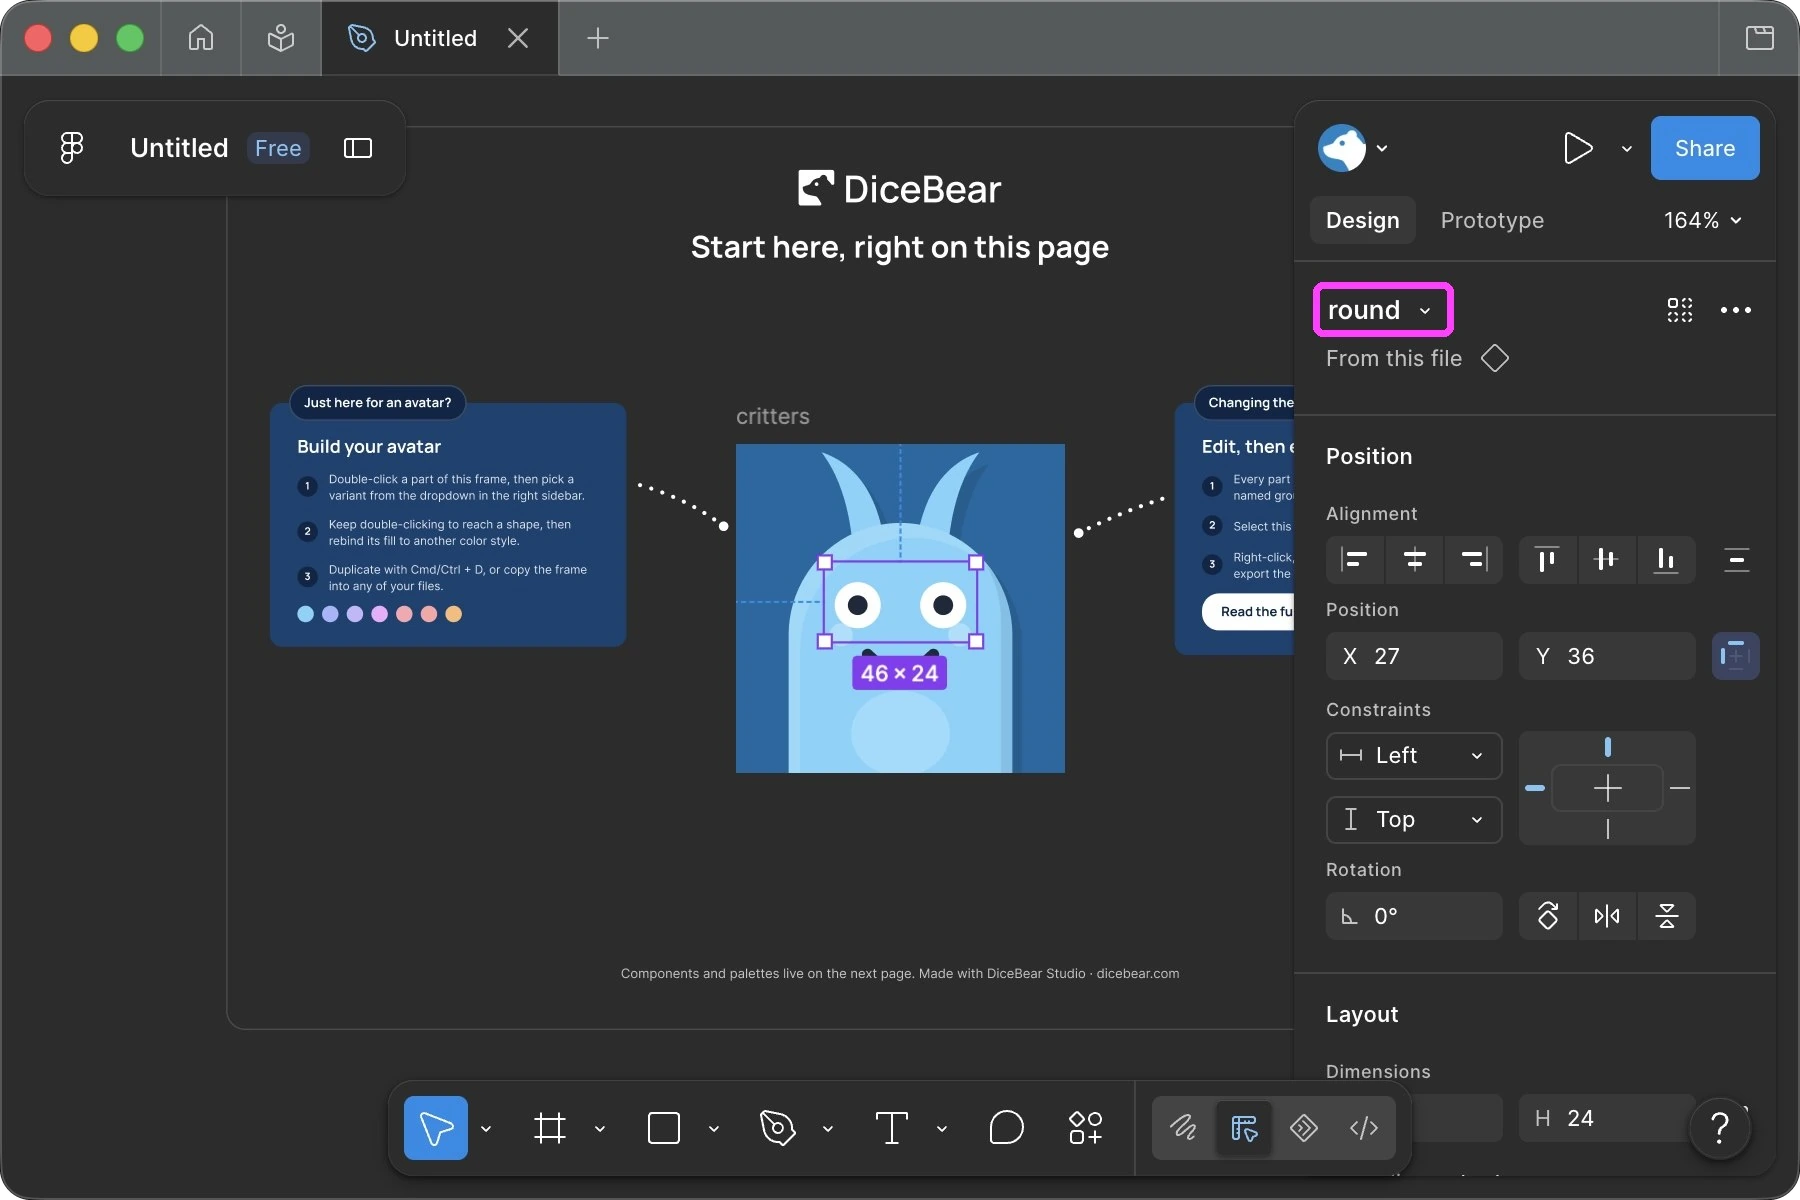
TIP
The layer bound to the background palette only exists so the frame looks right in Figma. DiceBear paints the background itself, so the export leaves that layer out.
Step 9
Select the frame, start the plugin again, and click Export. You get a definition file that works right away, without a build step.
Try it with the CLI:
dicebear ./critters.json ./test-output --count 10Step 8 of the Figma guide shows how to use your definition with each of our libraries.